
If you are starting to repair the device for the first time, pay attention to this tutorial — First time repairing
To disassemble Xbox 360 controller you’ll need T8 screwdriver and plastic spudger.
How to disassemble the Xbox 360 joystick
Remove battery and remove all screws from the back of gamepad.

Detach sticker and remove the last of screws.

Take some plastic tool that could be used as spudger, insert between gamepad case parts near charge port and then unclick case parts.

Open the case of the controller.
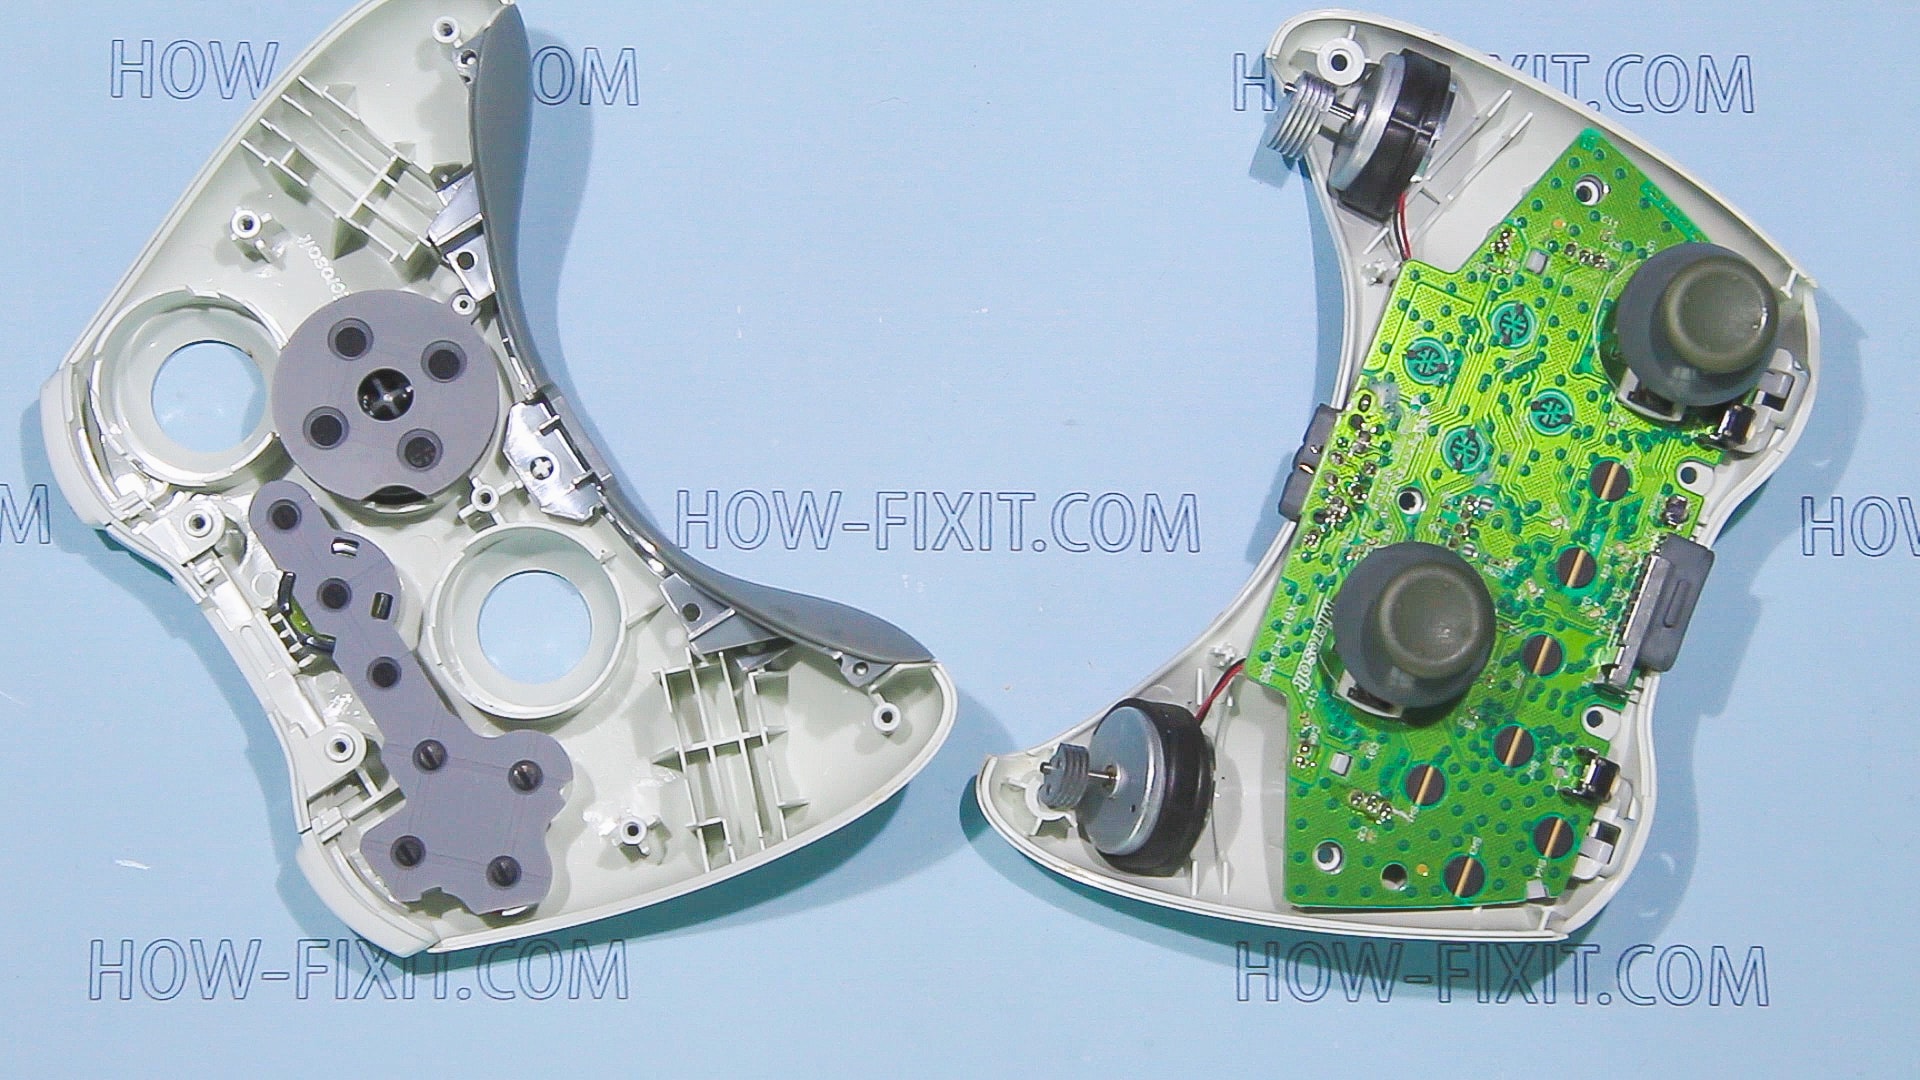
Disconnect vibration packs.

Remove thumbsticks triggers.

Now you can clean the controller of the main board with a cotton swab in the places where the buttons are located. This will help improve the button response.

Also clean the contacts on the buttons.

Assembling the Xbox 360 gamepad
Assembly process looks similar to disassembly but reversed:
- Place all the buttons, rubber pads and secure cross button
- Place top face bar on front case part
- Place thumbsticks on main board
- Place vibration packs
- Place main board and connect vibration packs
- Put on back case part and click it on
- Secure it with screws
- And install battery